The Blood of Dawnwalker From Above — Quest Walkthrough — Wiki & Guide
Published 2026-09-175 min read
From Above walkthrough: the Briar Sloughs watchtower climb, the three-area scouting objective, plus the Bear Trouble trial with the ravenous bear and the Ravenous Flock manual.
From Above is the quest that opens the map — literally. Climb the watchtower in the Briar Sloughs, scout the valley in three directions, and the game fills your map with points of interest. Pair it with the nearby A Pilgrimage of Power: Bear Trouble trial and one tower visit pays for a whole day of planning.
How to start
Leave Laslea Glen and follow the road down. The Laslea Gate shrine on the way is worth unlocking as you pass — it's the anchor for this whole corner of the map. From the gate, the watchtower quest marker pulls you south into the Briar Sloughs.
The watchtower climb
At the tower, clear the enemies around the base, then head up:
- Inside, use Shadowstep to teleport to the upper platform — or hop to the wall first and walk it, if you'd rather practice Planeshift.
- From the window, Shadowstep across to the far side, then up again to the tower top.
- Loot the chest up here before you do anything else.
Now the actual objective: step to the highest point and scout three areas. Each scouting ping fills in a wedge of the map with points of interest — shrines, camps, quests. When the third sweep lands, the quest completes. That's the reward in itself: From Above turns the valley from a fog bank into a plan.
Getting down (the fast way)
Exit through the tower door, Shadowstep to the upper wooden platform, jump to the stone wall, and Clawride down the face. Faster than the stairs, and worth practicing — the valley is full of towers.
On the way back: Bear Trouble
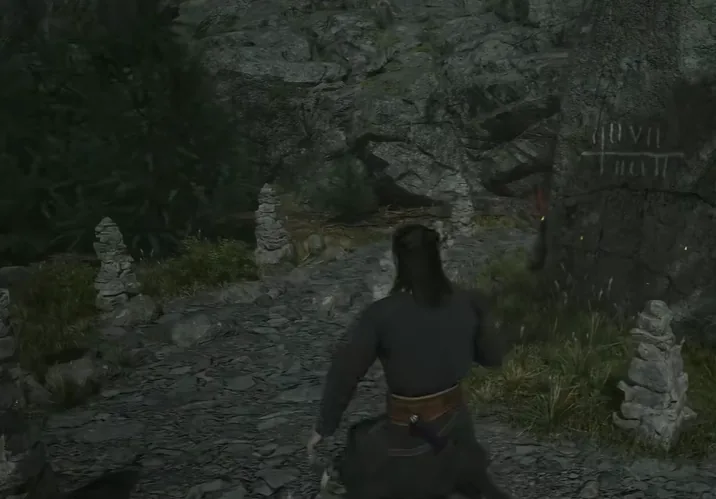
West of the Laslea Gate shrine, the cliffs hide the A Pilgrimage of Power: Bear Trouble trial, and it chains neatly onto your descent:
- Cross the river below the tower — the story scene triggers, then climb the rocks above.
- Mark the wind chimes on your map and follow the road up to them.
- Behind the chimes waits the trial's boss: a ravenous bear. It hits like a landslide and telegraphs everything — learn its two-swing combo, punish the recovery, and mind the slope (the bear fights uphill better than you do).
- After the kill, examine the knife on the ground by the marked rock, then the corpse in the cave behind it.
- Return to the marked rock and investigate to earn the Ravenous Flock manual, along with the trial's XP and an amulet.
One warning for the descent: if the night is getting old, bank the climb. The bear fight at dawn is a very different fight.
Keep reading: