The Blood of Dawnwalker Come Hither Quest Walkthrough

Published 2026-09-293 min read

Come Hither walkthrough: finding the crying Sanzhana north of the marsh guardpost shrine, clearing the burrow's Murohn, and the skill point reward.

Come Hither is the Sanzhani favor you'll hear before you see: a strange sound on the road north of the marsh guardpost shrine in The Silts (you can also approach it from the flats south of Griefberg Castle). Follow it, and you find Sanzhana in tears — something has moved into a burrow near her people's home. Clear it, and the quest pays 100 XP and 1 skill point for 2 time segments. It unlocks after Good Home and can't be failed.
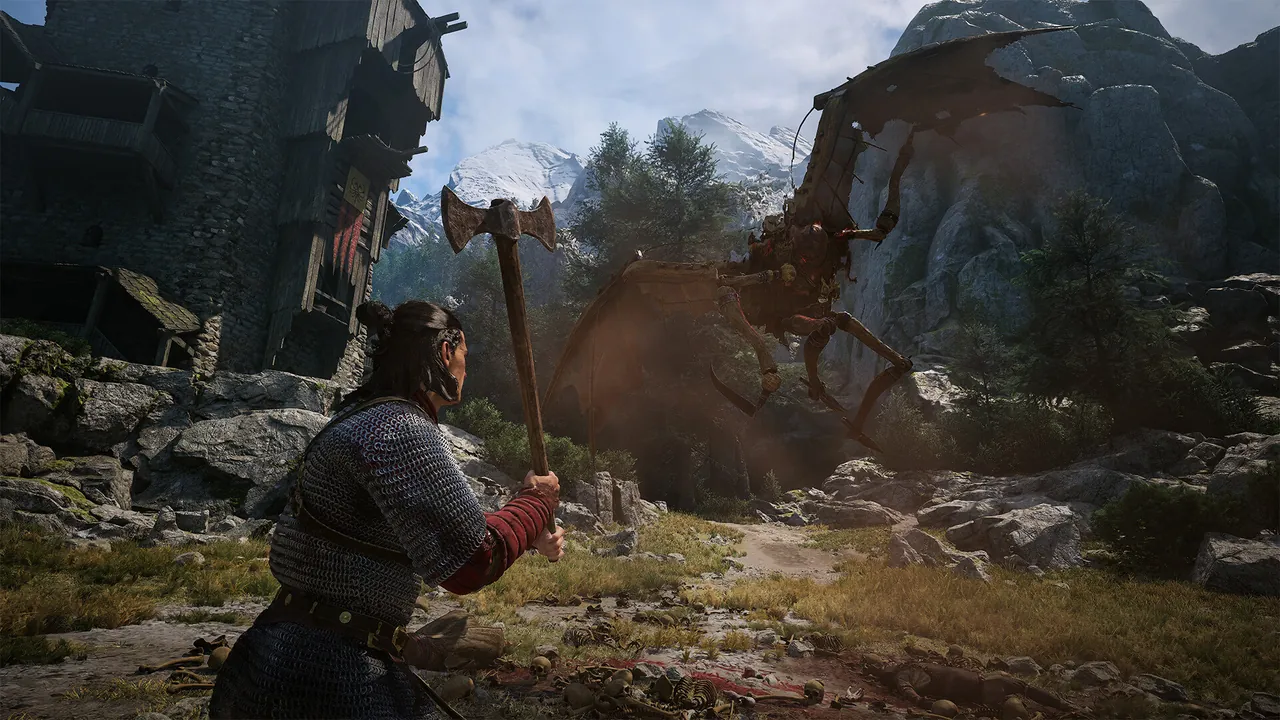
Coen fighting a large monster in the open field
Whatever's denning in the burrow won't leave on its own — expect a miniboss with an appetite.

Investigate the sound

Ride the road north from the marsh guardpost shrine until the quest pings. The sound traces back to Sanzhana, visibly upset — talk to her and she asks you to deal with the creature that took over the nearby burrow.

Follow her to the burrow

Walk with her to the burrow mouth and drop in. The cave runs down to a chamber where the culprit waits: a Murohn, a twisted miniboss with more health than your average road pack. Fight it the way you'd fight any heavy — stamina discipline, Perfect Blocks, abilities on cooldown — then sweep the burrow for loot before you climb out.

Report back

Outside, tell Sanzhana the burrow is clear. Conversation over, quest complete — 100 XP, 1 skill point, and one of the four favors the Letters to Lunka capstone is waiting on. If you're chaining the Sanzhani line, this is the natural first pick: short, close to a shrine, and it refunds a skill point you can spend immediately.

Keep reading:

Related Guides


The Blood of Dawnwalker Working Her Magic Quest WalkthroughThe Blood of Dawnwalker Will-o'-the-Wisp Locations GuideThe Blood of Dawnwalker The Price of Magic Quest WalkthroughThe Blood of Dawnwalker Letters to Lunka Quest WalkthroughThe Blood of Dawnwalker In the Name of the Father WalkthroughThe Blood of Dawnwalker Enshrined Obsession Quest WalkthroughThe Blood of Dawnwalker Update — Difficulty & Lock-On ChangesThe Blood of Dawnwalker All Cries for Help LocationsThe Blood of Dawnwalker Bandit's Treasure Maps — All 8 LocationsThe Blood of Dawnwalker Lost Blood — Side Quest WalkthroughThe Blood of Dawnwalker A Suspicious Gift WalkthroughThe Blood of Dawnwalker A Deal with the Devil WalkthroughThe Blood of Dawnwalker Withering Away — Quest WalkthroughThe Blood of Dawnwalker Where Old Demons Sleep WalkthroughThe Blood of Dawnwalker Under Watchful Eyes — Quest WalkthroughThe Blood of Dawnwalker The Firebrand — Quest WalkthroughThe Blood of Dawnwalker The Cursed Chasm — Quest WalkthroughThe Blood of Dawnwalker Someone Needs a Lesson WalkthroughThe Blood of Dawnwalker Smoke and Ashes — Quest WalkthroughThe Blood of Dawnwalker Shadows in the Woods — Quest WalkthroughThe Blood of Dawnwalker Sacred Covenant — Quest WalkthroughThe Blood of Dawnwalker Roadside Surprise WalkthroughThe Blood of Dawnwalker Page-Turner — Side Quest WalkthroughThe Blood of Dawnwalker On the Run — Side Quest WalkthroughThe Blood of Dawnwalker Live Bait — Side Quest WalkthroughThe Blood of Dawnwalker Like Father, Like Son — Quest WalkthroughThe Blood of Dawnwalker Good Home — Quest WalkthroughThe Blood of Dawnwalker Game Overview — Story, World & SystemsThe Blood of Dawnwalker From Above — Quest WalkthroughThe Blood of Dawnwalker Following the Sound WalkthroughThe Blood of Dawnwalker Fate's Mercy WalkthroughThe Blood of Dawnwalker Evil and Convenience WalkthroughThe Blood of Dawnwalker Disturbed — Side Quest WalkthroughThe Blood of Dawnwalker Bounty of the Mire WalkthroughThe Blood of Dawnwalker Blasphemy — Side Quest WalkthroughThe Blood of Dawnwalker Beyond Achilles — Quest WalkthroughThe Blood of Dawnwalker Bad Blood — Quest WalkthroughThe Blood of Dawnwalker All Good Things — Quest WalkthroughThe Blood of Dawnwalker Prologue Walkthrough